How to Remove Stains from Clothes Without Damaging Fabric
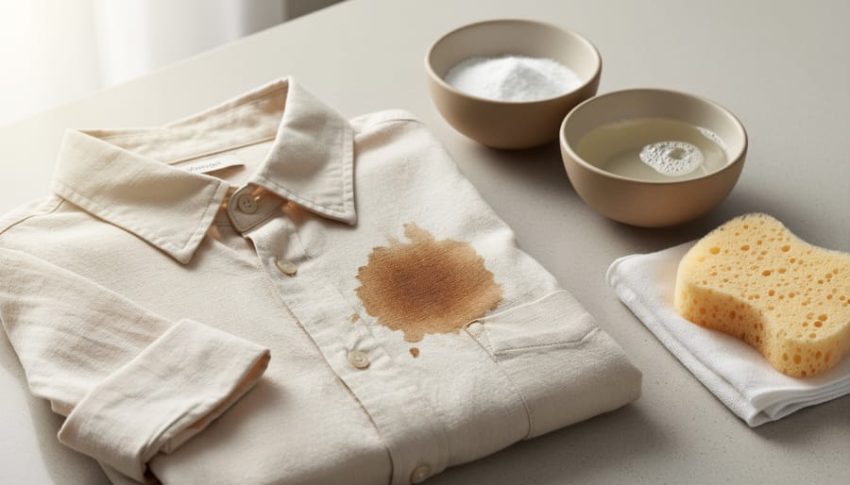
You can rescue almost any stained garment using gentle, fabric-safe techniques that preserve your clothes instead of destroying them. The key is acting quickly, choosing the right natural or mild solution for each stain type, and following a careful blotting process that lifts color without weakening fibers. Most stains respond beautifully to simple household ingredients like white vinegar, baking soda, and dish soap when you know the proper method.
I learned this the hard way after ruining a favorite linen shirt with bleach years ago. That expensive mistake sparked my journey into gentler stain removal, and I’ve since saved countless garments that seemed destined for the donation bin. The irony is that the harshest chemicals often set stains deeper or leave permanent damage, while patient, informed techniques actually work better.
When you care for your clothes properly, they last years longer. That means fewer replacements, less textile waste, and significant savings over time. You’ll save money while keeping quality pieces in rotation instead of constantly shopping for new ones.
The methods ahead work on everything from coffee spills and grass stains to grease marks and wine. Each requires nothing more complicated than testing in an inconspicuous spot first, treating from the outside in to prevent spreading, and never applying heat until the stain is completely gone. Heat sets stains permanently, turning a fixable problem into a fabric funeral.
Whether you’re dealing with fresh accidents or older marks you’ve been avoiding, this guide will walk you through the exact steps professionals use without the professional price tag or harsh environmental impact. You’ll learn how to lift gum from clothes and handle every other common stain challenge with confidence.
What You’ll Need: Gentle Stain-Fighting Essentials
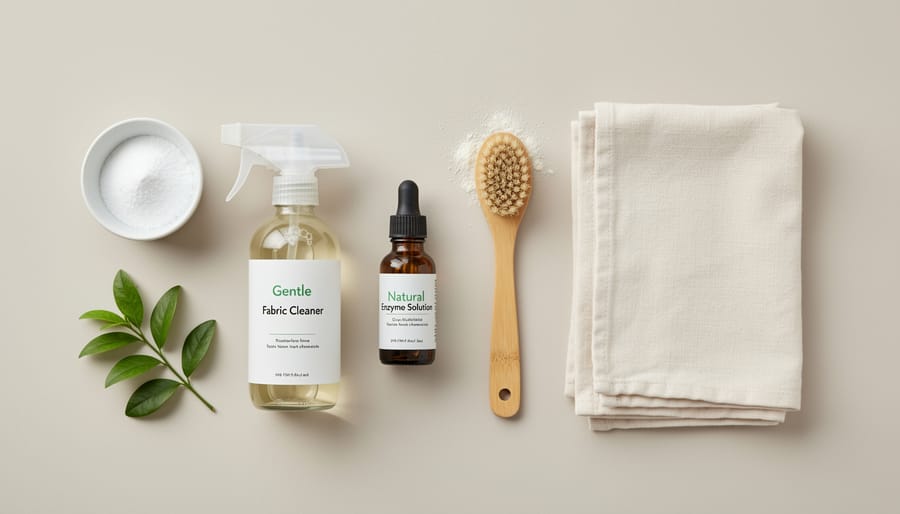
You don’t need an arsenal of harsh chemicals to tackle stains effectively. Most successful fabric-safe stain removal relies on gentle, everyday items you likely already have at home, along with a few specialized tools that protect fibers while lifting stains. Building your stain-fighting kit around natural solutions helps you avoid greenwashing traps while genuinely extending the life of your clothes.
Start with these pantry staples and gentle commercial products:
- White distilled vinegar: neutralizes odors and breaks down tannin stains without bleaching color
- Baking soda: absorbs oils and deodorizes while acting as a gentle abrasive for scrubbing
- Castile soap or gentle dish soap: cuts through grease without synthetic detergents that weaken fibers
- Lemon juice: natural bleaching agent for whites, effective on rust and fruit stains
- Table salt or cornstarch: absorbs fresh oil stains before they set into fabric
- Enzyme-based stain removers: break down protein stains like blood and sweat without harsh solvents
- Oxygen bleach powder: safe color-friendly alternative to chlorine bleach for tough organic stains
- Soft-bristled brush or old toothbrush: works treatment into fabric without damaging weave
- White microfiber cloths: for blotting without transferring dye to stained garments
- Spray bottles: control application and avoid oversaturating delicate fabrics
Keep these items together in a designated spot so you can act quickly when spills happen. Fresh stains respond dramatically better than set ones, and having your gentle toolkit ready means you won’t reach for harsh chemicals in a panic. The investment is minimal, most ingredients cost under five dollars, and they handle multiple household cleaning tasks beyond laundry.
Before You Start: Safety and Fabric Care Warnings
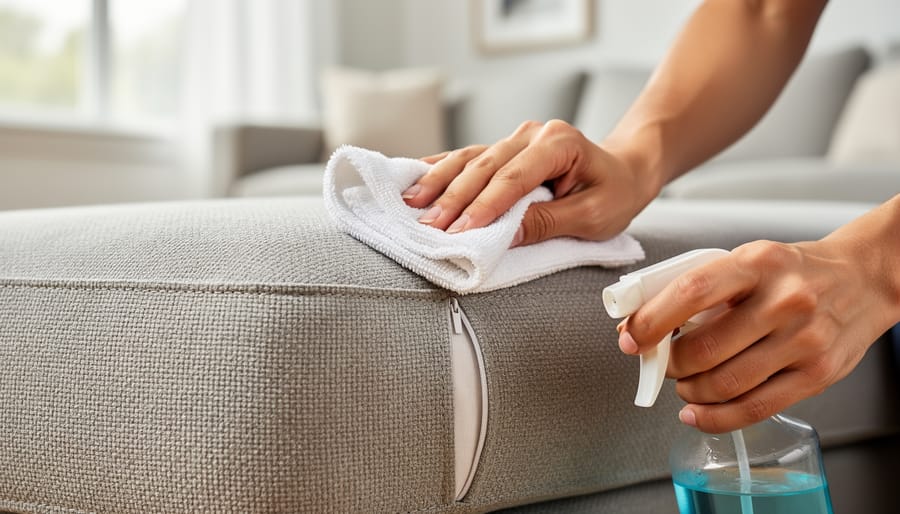
Before you apply any stain treatment, take five minutes to protect your garment from accidental damage. Read the care label first, symbols indicating “dry clean only” or temperature restrictions tell you whether DIY methods are safe or if professional help is necessary. Fabrics like silk, wool, leather, and vintage textiles with unknown fiber content often need specialist care; attempting home treatments can cause irreversible harm.
Always test your chosen cleaning solution on a hidden seam allowance or inside hem. Dab a small amount, wait five minutes, then blot with a white cloth to check for color transfer or fiber weakening. This simple step can prevent fabric damage that turns a salvageable stain into a ruined garment.
Work in a well-ventilated space, particularly when using oxygen bleach or commercial stain removers. Open windows or turn on a fan to disperse fumes. Keep treatments away from your eyes and skin, and rinse hands thoroughly after handling any cleaning product.
Resist the urge to speed things up with heat. Never iron, machine-dry, or apply hot water to an untreated stain, heat permanently sets protein and tannin stains into fibers, making removal nearly impossible. If a stain persists after gentle treatment or the fabric feels delicate, stop and consult a professional cleaner rather than risk pushing too hard.
The Universal Stain Removal Method: A Gentle Step-by-Step Process
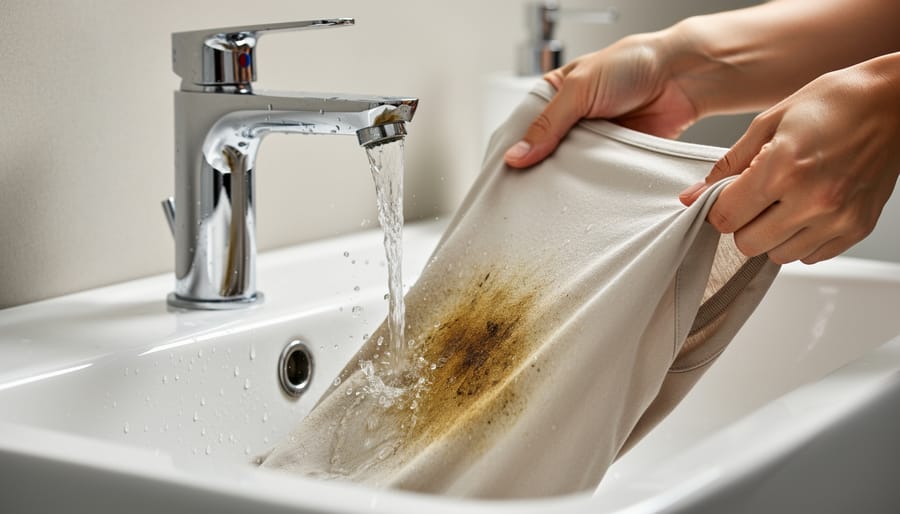
When a stain lands on your clothes, your first instinct might be to scrub hard or reach for the strongest cleaner available. Resist that urge. The most effective stain removal happens gently, preserving your fabric’s integrity while lifting the stain. This universal method works for most common stains and relies on patience rather than force.
The beauty of this approach is its simplicity. You’re not fighting the fabric or the stain, you’re coaxing the stain out without weakening fibers or fading colors. Each step builds on the last, and skipping ahead or rushing through typically means repeating the entire process.
- Blot the excess immediately. Use a clean white cloth or paper towel to gently lift any solid matter or liquid sitting on the surface. Press down and lift straight up; never rub or wipe across the stain, which pushes it deeper into the weave.
- Rinse with cold water from the back of the fabric. Hold the stained area under cold running water with the wrong side facing up. This forces the stain back out the way it came in rather than pushing it through to the other side. Run water for at least 30 seconds.
- Apply your chosen gentle treatment. Based on the stain type, apply your natural solution, white vinegar, enzyme cleaner, dish soap, or another appropriate option. Use enough to saturate the stain but not soak the entire garment.
- Gently work the solution into the stain from the edges toward the center. Use your fingertips or a soft-bristled toothbrush to lightly massage the treatment into the fabric. Starting at the outer edge prevents spreading the stain. Use circular motions with minimal pressure.
- Let the solution sit. Fresh stains need 5-10 minutes; older stains benefit from 30 minutes to an hour. Don’t rush this step, the chemical action does the work while you wait.
- Rinse thoroughly with cold water. Flush out all the treatment solution and loosened stain particles. Continue rinsing until the water runs completely clear.
- Check the stain carefully before any heat or drying. Examine the area in good natural light. Feel the fabric for any tacky residue. If even a shadow of the stain remains, repeat the treatment.
- Air dry to verify complete removal. Lay the garment flat or hang it to dry naturally. Heat from a dryer will permanently set any remaining stain, so wait until you’re absolutely certain it’s gone.
The key to success with this method is accepting that some stains need multiple rounds. That’s not failure, it’s the reality of working gently. A stain that takes three treatments to remove completely still leaves your fabric undamaged and your garment wearable for years to come. The alternative, harsh scrubbing or chemical bleaching, might remove the stain faster but shortens your garment’s life significantly.
Stain-Specific Natural Solutions That Preserve Fabric
Protein-Based Stains (Blood, Sweat, Dairy)
Protein-based stains terrified me until I rescued my favorite white linen shirt after a nosebleed incident. The secret? Cold water only, and patience.
These stains contain organic proteins that heat literally cooks into fabric fibers, making them permanent. Always start with cold water, run it through the back of the stain to push proteins out rather than deeper in.
For fresh stains, flush immediately with cold water for several minutes. If the stain persists, apply an enzyme-based cleaner (look for protease enzymes on the label) directly to the spot. These biological catalysts break down protein molecules without harsh scrubbing. Let it sit for 15-30 minutes before a cold wash.
No enzyme cleaner? Make a paste with salt and cold water. The salt draws moisture and proteins out of the fabric. Apply generously, let it absorb for 20 minutes, then rinse with cold water. For blood specifically, hydrogen peroxide works beautifully on white fabrics, it fizzes as it lifts the stain.
Never use hot water, never toss the garment in the dryer until you’ve verified the stain is completely gone. Heat transforms these stains from temporary nuisances into permanent reminders of impatience.
Oil and Grease Stains
Oil and grease need a different approach than water-based stains. Your first instinct might be to rinse with water, but that actually spreads the oil and makes removal harder. Instead, reach for an absorbent powder.
Sprinkle cornstarch or baking soda generously over the fresh stain, enough to cover it completely. Let it sit for 15 to 30 minutes so the powder can pull the oil out of the fabric fibers. For older, set-in grease stains, leave the powder on for several hours or overnight.
Gently brush off the powder, then apply a small amount of mild dish soap directly to the stain. Dish soap is designed to cut through grease without harsh solvents that weaken fabric. Work it in gently with your fingertips using circular motions. Let it sit for 10 minutes.
Now you can rinse with warm water, warmer than you’d use for protein stains, since it helps dissolve oil. Check the spot before washing. If the greasy outline remains, repeat the dish soap treatment rather than putting the garment in the dryer, which will permanently set any remaining oil.
Tannin Stains (Coffee, Tea, Wine, Fruit)
Tannin stains look intimidating, that deep brown coffee splash or red wine disaster, but they respond beautifully to acidic treatments that won’t harm fibers. The key is acting quickly and using the right approach for the stain’s age.
For fresh tannin stains, blot away excess liquid immediately. Pour club soda directly onto wine stains (the carbonation lifts pigments), or apply white vinegar to coffee and tea marks. Let it sit for five minutes, then flush with cold water from the back of the fabric to push the stain out rather than through. Repeat if needed, patience beats scrubbing every time.
Dried tannin stains need more coaxing. Apply glycerin (available at drugstores) to the stain, let it soften for thirty minutes, then treat with diluted lemon juice. “People panic and reach for bleach, which weakens natural fibers like cotton and linen,” explains Maria Chen, owner of EcoPress Cleaners. “These gentle acids break down tannins without compromising the fabric structure.”
Never use hot water on tannins, it sets them permanently. I learned this the hard way with a coffee-stained linen dress that could have been saved with cold water alone.
Dye Transfer and Color Bleeding
When bright colors run onto lighter fabrics during washing, you’re dealing with a frustrating but fixable problem. The key is acting quickly and choosing the right approach based on the affected garment’s color.
For white items with dye transfer, oxygen bleach (like OxiClean or sodium percarbonate) offers powerful stain removal without the fiber-weakening harshness of chlorine bleach. Mix according to package directions with warm water and soak the affected whites for two to eight hours, checking progress periodically. The oxygen action breaks down dye molecules without damaging cotton, linen, or synthetic fibers.
Colorfast items require gentler treatment. Create a solution of one part white vinegar to four parts cold water and soak the garment for 30 minutes. The mild acid helps lift transferred dye while preserving the original color. Test on a hidden seam first to ensure your garment won’t fade.
Prevention beats treatment every time. Sort laundry by color, wash new bright items separately for the first three cycles, and always use cold water, which keeps dyes from releasing. Add a color-catcher sheet to mixed loads as insurance against bleeding disasters.
How to Know If the Stain Is Really Gone
Before you toss that garment in the dryer, take a moment to verify the stain is truly gone. Heat will permanently set any remaining residue, turning a salvageable situation into a lost cause.
Start by checking the treated area in natural daylight, not under artificial lighting. Hold the fabric up to a window and examine both sides. Stains often leave faint shadows or discoloration that indoor lights mask. If you spot any lingering marks, resist the urge to apply heat.
Next, run your fingers gently over the treated spot. Does it feel different from the surrounding fabric? A tacky or stiff texture signals leftover stain compounds, even if you can’t see them. For protein or food stains, bring the fabric close and smell it. A musty or sour odor means bacteria or residue remains embedded in the fibers.
If the stain persists, repeat your gentle treatment process rather than escalating to harsher methods. Most stubborn stains need patience and multiple rounds, not stronger chemicals. Let the garment air dry completely between attempts so you can accurately assess your progress.
Sometimes a faint ghost of the original stain will remain despite your best efforts. This is particularly common with older stains or delicate fabrics that can’t tolerate aggressive treatment. Ask yourself: does this barely-visible mark really warrant discarding an otherwise functional garment? A small reminder of a wine spill or grass stain often tells a story worth keeping.
Once you’ve confirmed the stain is gone, maintain your success by addressing future spills immediately and washing items in cold water with eco-friendly detergents that won’t strip protective fibers.
Common Questions About Gentle Stain Removal
Are natural methods as effective as chemical stain removers?
Natural stain removal methods work just as well as chemical alternatives for most common stains when applied promptly, and they’re far safer for both fabric integrity and your health. The trade-off is that natural methods sometimes require a second application or slightly more patience, but you avoid the fiber-weakening effects of harsh chemicals that contribute to premature garment wear and microplastic pollution when synthetic fabrics break down.
How long should I let treatments sit before rinsing?
Most natural treatments work best with 15 to 30 minutes of contact time, though enzyme cleaners benefit from up to an hour on protein stains. For stubborn marks, you can safely leave treatments like white vinegar or baking soda paste overnight without damaging fabric, which is a major advantage over chemical removers that can eat through fibers with extended exposure.
Can I use these methods on delicate fabrics like silk and wool?
Silk and wool require extra caution, always test on an inconspicuous area first and skip acidic treatments like lemon juice on silk, which can weaken the protein fibers. For these delicates, stick to gentle dish soap diluted in cold water, blot rather than rub, and consider professional cleaning for valuable pieces or large stains.
What if the stain has already set in?
Set stains are tougher but not hopeless. Try soaking the garment in cold water with oxygen bleach (for whites) or white vinegar (for colors) for several hours or overnight, then apply your stain-specific treatment and work it gently into the fabric. Accept that very old stains may lighten significantly without disappearing completely, which is still a win if it saves a garment from the landfill.
Is it safe to combine different natural cleaners?
Never mix vinegar with hydrogen peroxide or oxygen bleach, as this creates peracetic acid that can damage fabric and irritate your respiratory system. It’s fine to use different treatments sequentially, just rinse thoroughly between applications and give each method time to work on its own before trying another.
The beauty of natural stain removal is that you can build your skills gradually, starting with simple pantry staples and becoming more confident as you see results. Most people find that keeping white vinegar, baking soda, and gentle dish soap on hand covers 80% of household stains without any special products or expertise required.
Mastering gentle stain removal transforms how you care for your wardrobe. Every stain you successfully treat without harsh chemicals is a small victory, one that extends the life of your favorite pieces, saves money, and reduces textile waste heading to landfills.
Start simple. Choose one natural method from this guide and practice it on your next fresh stain. Build your skills gradually, and you’ll gain confidence in handling even stubborn spots without reaching for aggressive products that compromise fabric integrity.
The time you invest in thoughtful stain care pays back in clothes that look better and last years longer. A white shirt rescued from coffee, jeans saved from grass stains, a dress preserved despite wine, these aren’t just cleaning wins. They’re acts of environmental stewardship, proving that sustainability doesn’t require perfection, just consistent care.
You now have the tools and knowledge to take control of your clothing maintenance. Each garment you preserve through gentle treatment is one less item manufactured, shipped, and eventually discarded. That’s powerful. Your wardrobe, and the planet, will thank you for choosing patience and natural methods over quick chemical fixes that damage what you’re trying to save.